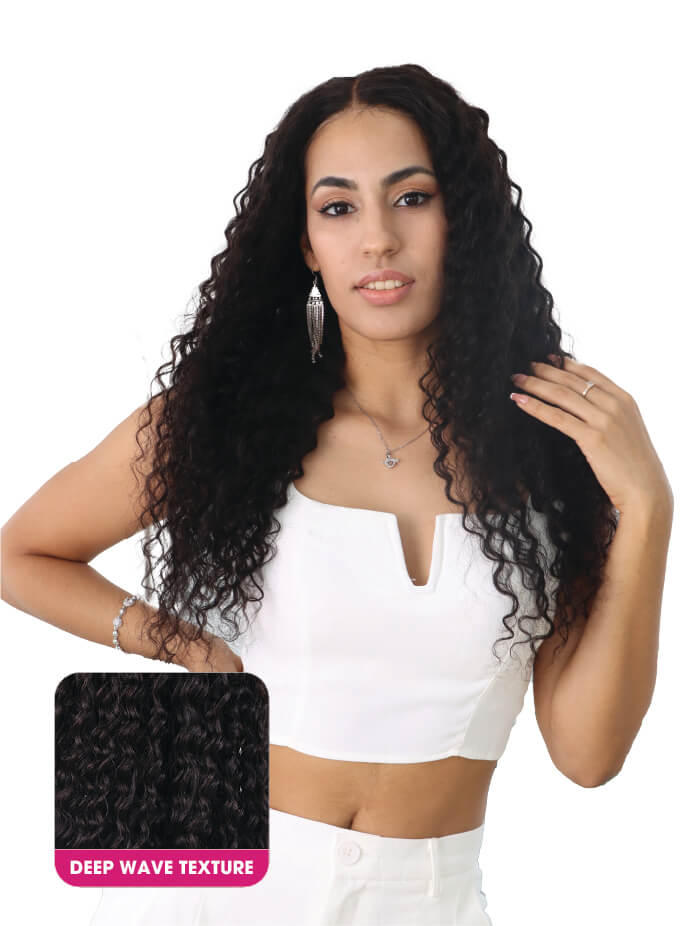
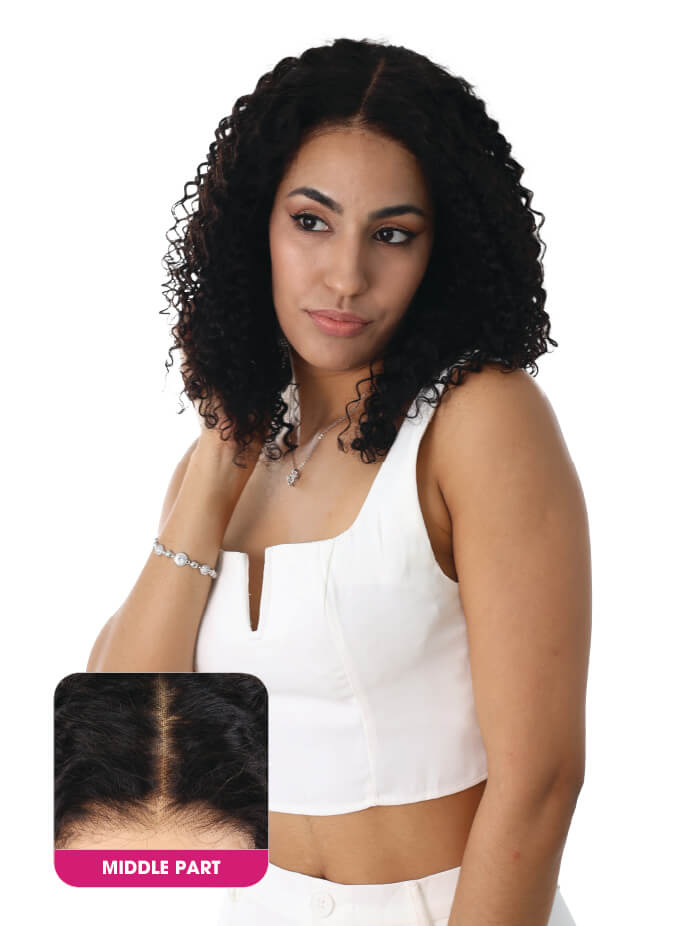
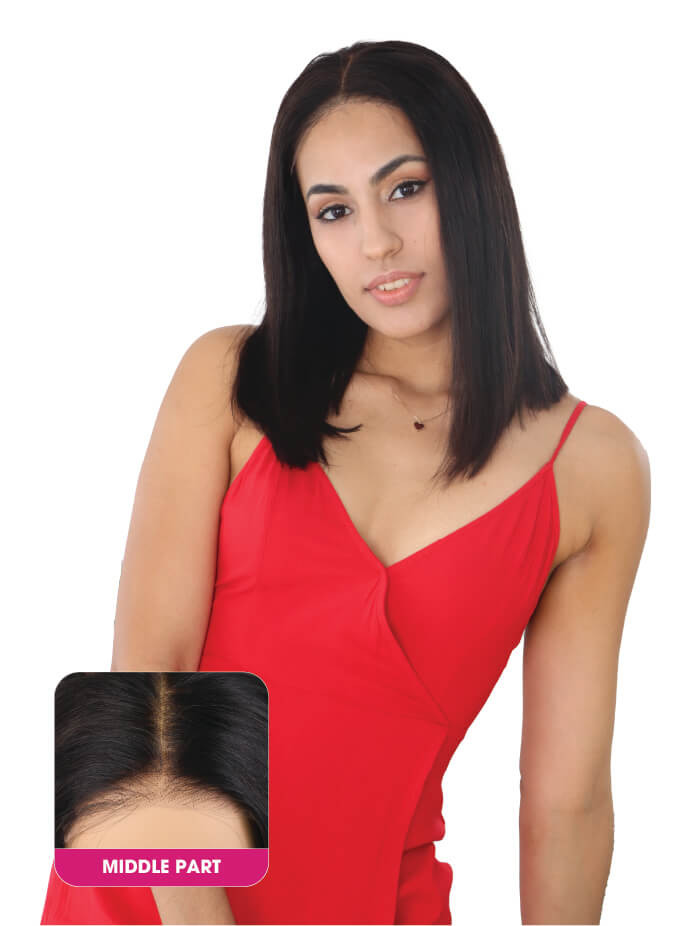
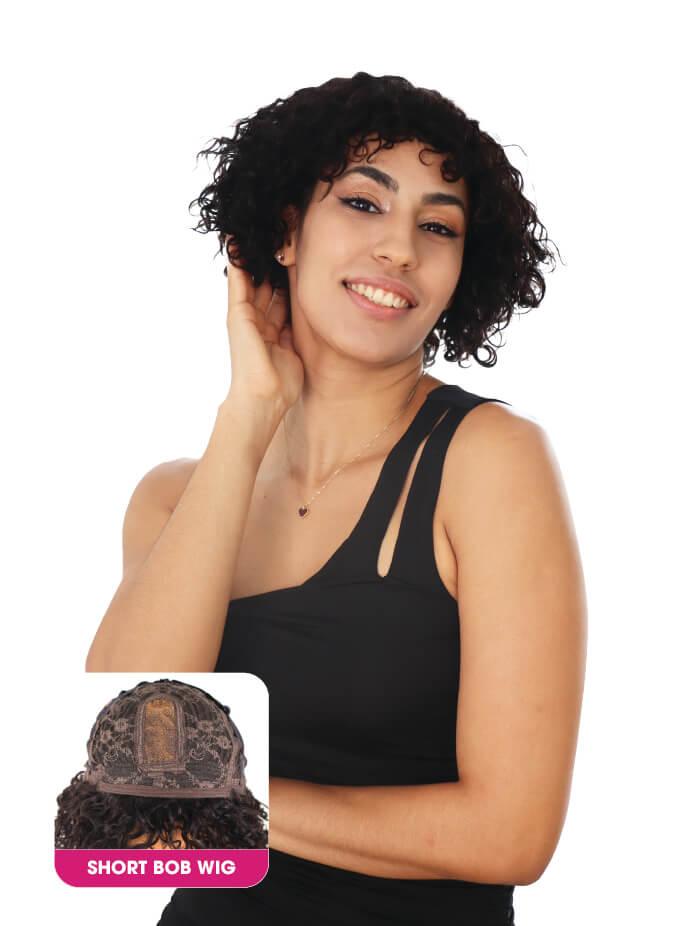
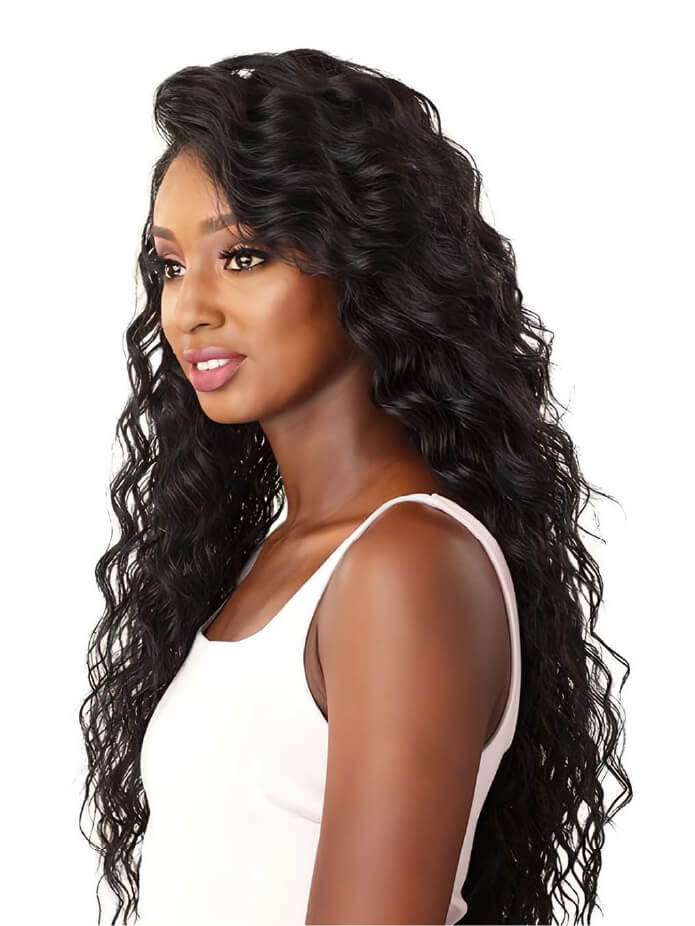
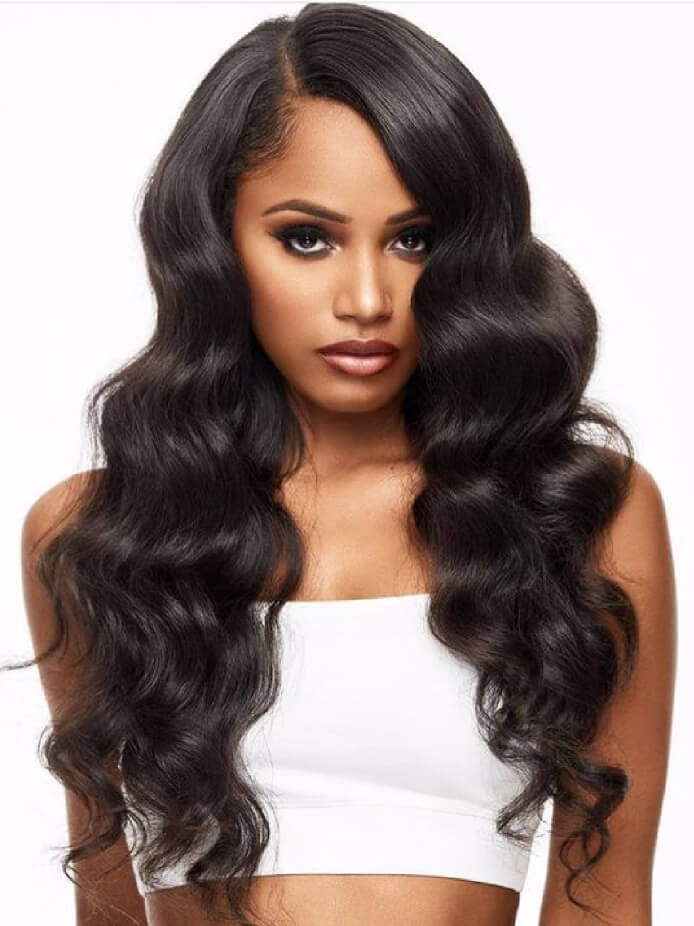
Tape-in extensions have become increasingly popular among individuals looking for versatile and natural-looking hair transformations. As a salon professional, knowing how to dye hair with tape-in extensions is a valuable skill that allows you to meet your client’s unique color preferences.
In this comprehensive guide, we will take you through a step-by-step process to achieve vibrant and flawless results. Whether you’re a seasoned stylist or new to working with tape-in extensions, this guide will equip you with the knowledge and techniques needed to create customized hairstyles. Let’s dive in and learn how to dye hair with BigG’s tape-in extensions like a pro!
Understanding Tape-In Extensions
Before diving into the dyeing process, let’s gain a deeper understanding of tape-in extensions and why they are popular among clients:
- Natural Look and feel: The thin and flexible adhesive tape lies flat against the scalp, creating a natural appearance. When properly applied, the extensions are virtually undetectable, making the hair look naturally voluminous and lengthened.
- Comfortable and lightweight: The thin and flexible adhesive strips do not cause any discomfort or heaviness on the scalp, allowing the client to wear the extensions for extended periods without irritation.
- Customizable and personalized: Tape-in extensions come in different lengths, colors, and textures, allowing stylists to tailor the extensions to each client’s specific needs and preferences. This customization ensures a personalized and unique look for every client.
- Long-lasting results: When properly cared for and maintained, tape-in extensions can last for several weeks to a few months. This durability makes them a cost-effective choice for clients who want to enjoy extended wear and beautiful results.
- Hair-friendly and non-damaging: The adhesive used is gentle on the hair and scalp, minimizing damage. When applied and removed correctly by a professional, tape-in extensions do not cause any long-term damage to the natural hair.
Overall, tape-in extensions offer a convenient and versatile solution for clients looking to enhance their natural hair.
Dyeing Process
Now let’s dive into the step-by-step process of dyeing hair with BigG’s tape-in extensions:
Total Time: 45 minutes
Step 1
Before

Step 2
To achieve a beautifully dyed outcome, BigG Hair suggests utilizing a technique that creates peaks and valleys, resulting in dimension and depth. This can be achieved by using BigG’s rooted extensions in the same row, as shown in the accompanying photo.
Step 3
Begin by applying the first row of extensions approximately 1 to 1½ inches above the nape of the neck. Apply BigG’s tape-in color #60C underneath for the high points and color #Pla01 underneath for the low points.
Step 4
For the most natural outcome, utilize a bricklay pattern when placing the extensions and alternate the colors. In the next row, place BigG’s tape-in color #613ash underneath for the valleys and color #1B underneath for the peaks.

Step 5
Continue working your way up the head, ensuring to alternate the placement and colors of the extensions for a seamless blend.
Step 6
When you reach the hairline behind the ears, switch to BigG Mini tape extensions. These Mini extensions are 0.4 inches wide, making them nearly undetectable when working in tricky areas or when creating face-framing highlights.
Step 7
As you reach the crown of the head, move to each side and use BigG Mini tape color #4Q underneath for the peaks and color #9C underneath for the valleys.

Step 8
To blend the extensions with the client’s natural hair, frame the face by adding soft and feathered layers from the client’s top layer to the top row of extensions. This technique helps to diffuse any heaviness and ensures a seamless transition between the natural hair and the extensions. To avoid sacrificing any length, texturize the ends of the client’s natural hair at a 45-degree angle instead of cutting them.

Step 9
The result is a beautifully highlighted look achieved with the tape-in extensions.

Step 10
Step back and admire the finished look, showcasing the stunning highlights created with the tape-in extensions.

Before and after use Tape-In Hair Extensions
Product use
Aftercare and Maintenance
Aftercare and maintenance are crucial to ensure the longevity and beauty of hair with tape-in extensions. Here are some essential tips to share with your clients:
Gentle brushing
Advise clients to brush their hair with tape-in extensions gently and avoid tugging or pulling on the extensions. Use a brush with soft bristles or a wide-toothed comb, starting from the ends and working upward.
Avoid heat damage
Encourage clients to use heat protectant products before using flat irons, curling irons, or blow dryers. Recommend using lower heat settings to minimize the risk of heat damage.
Washing the hair
Instruct clients to wash their hair with tape-in extensions using sulfate-free and gentle shampoos. They should apply the shampoo in a downward motion and avoid rubbing or scrubbing the hair vigorously. Conditioning the hair from mid-length to the ends is important to keep it hydrated and manageable.
Regular maintenance
Schedule regular maintenance appointments with your clients to check the condition of the tape-in extensions and ensure they are securely in place. During these appointments, you can remove and reapply the extensions if necessary, ensuring they stay in optimal condition.
Professional removal
Emphasize the importance of having the tape-in extensions professionally removed. Attempting to remove the extensions at home can cause damage to the natural hair. Professional removal ensures a safe and proper process.
Regular care and attention will help preserve the extension’s quality and ensure that the client’s hair remains healthy and vibrant.
Conclusion
Dyeing hair with tape-in extensions opens up a world of possibilities for creating customized and vibrant hairstyles. By following the steps outlined in this guide and using high-quality tape-in extensions like those offered by BigG Hair, you can achieve flawless and stunning results. Visit our website to learn more and enhance your hairstyling expertise with BigG Hair.

